
9 and 21 EMA Crossover Trading Strategy
Plenty of traders assume a crossover signal means the trade is already a good one. It doesn’t. The 9 and 21 EMA crossover strategy only tells you that recent prices have pulled the fast line over the slow one, and that is a small piece of information. What you do with it, where you place the stop, how much you risk, and whether the market is trending at all, decides the outcome. This guide covers how the pair works, a rule set you can test, a fully priced hypothetical trade, a sample month of results, and where this system loses money.
Three Lines That Define the 9/21 Setup
- An EMA (exponential moving average) averages closing prices while giving recent candles more weight than older ones.
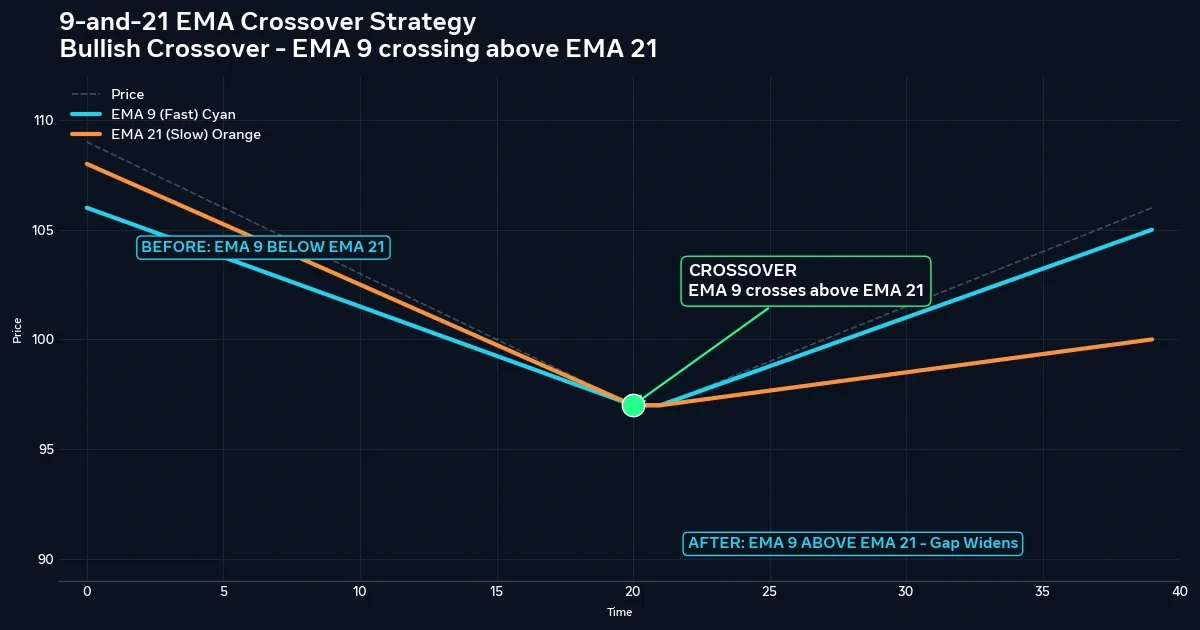
- A bullish cross is the 9 EMA closing above the 21 EMA. A bearish cross is the reverse.
- Many traders use the cross as a momentum signal, add a trend filter, place a stop beyond a recent swing point, and exit on a target or the opposite cross.
- The pair sits between very fast and slow crossovers. It tends to suit trending conditions and struggle in ranges. Neither is guaranteed.
Why Nine and Twenty-One Sit in the Middle
The smoothing factor for an EMA is k = 2 ÷ (N + 1). For the 9 EMA, k = 2 ÷ 10 = 0.20, so each new close carries 20% of the weight. For the 21 EMA, k = 2 ÷ 22, about 0.091, or roughly 9%.
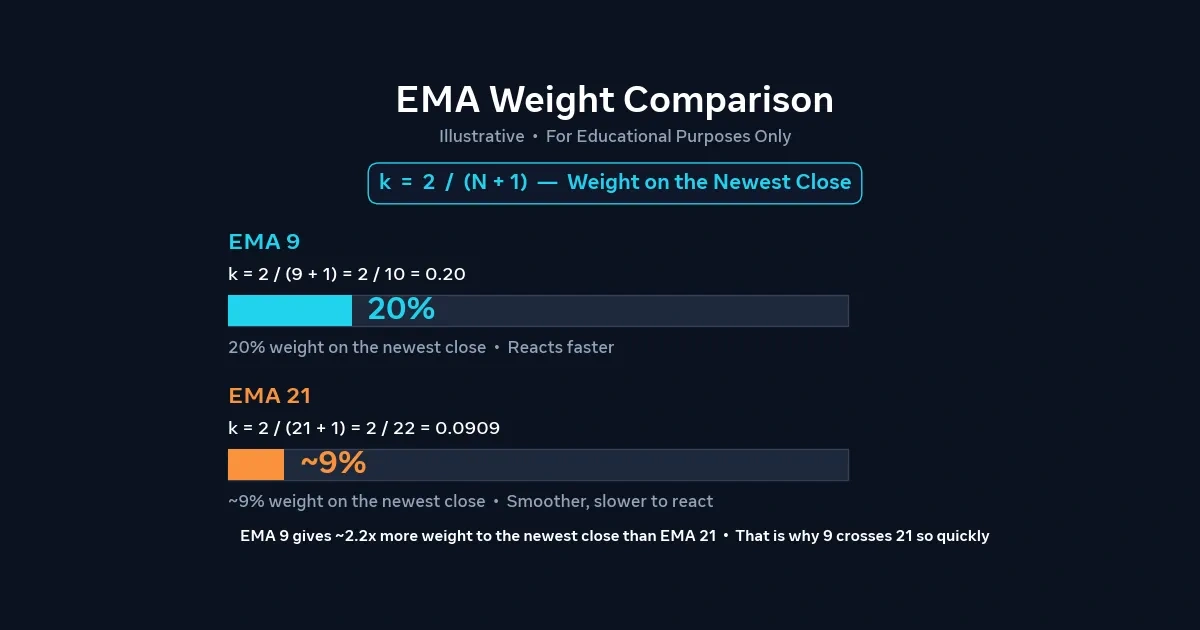
Say the previous 9 EMA is 0.9020 and the next close is 0.9035. The new 9 EMA is 0.9020 + 0.20 × 0.0015 = 0.9023. A previous 21 EMA of 0.9010 moves to about 0.9012 on the same close. The fast line follows price more closely, and the gap between the two lines opens or closes accordingly.
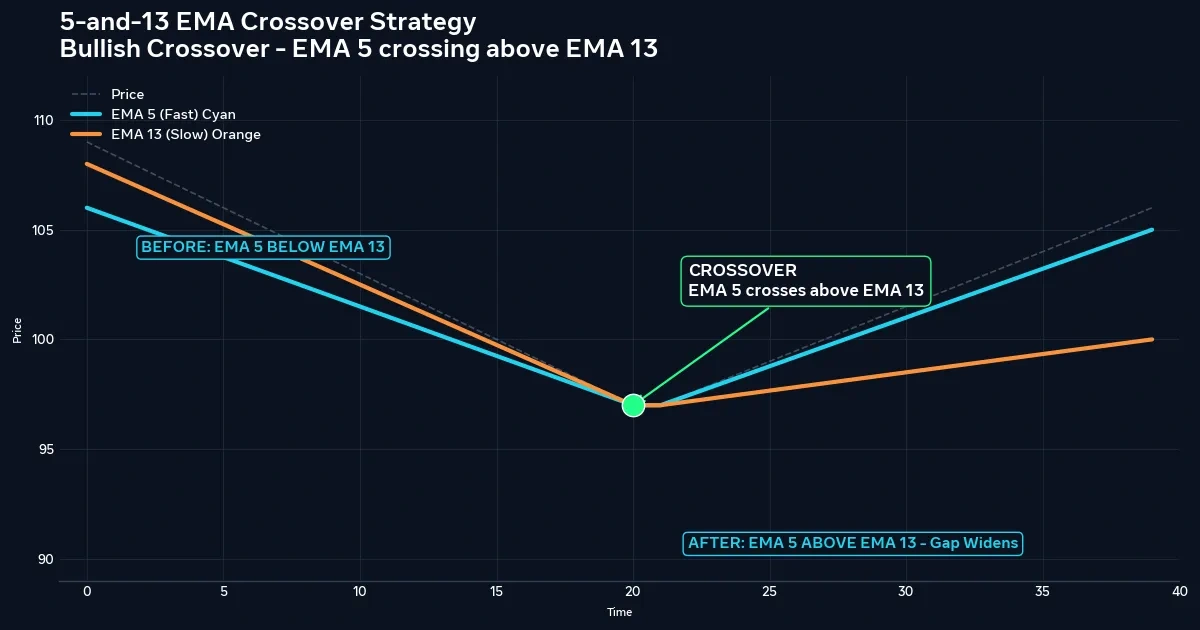
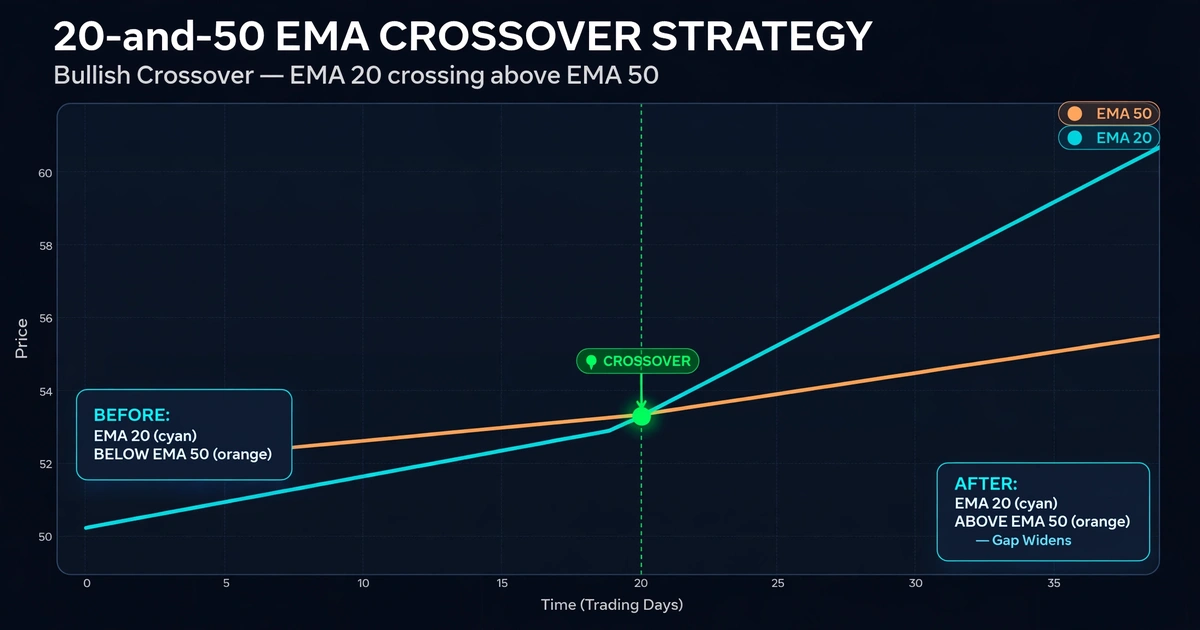
Neither number has special properties. Traders settled on 9 and 21 because the pair reacts faster than a 20/50 combination yet produces fewer random flips than a 5/13. If you want the faster extreme, see the 5 and 13 EMA crossover strategy. The slower, steadier cousin is the 20 and 50 EMA crossover strategy.
What Nine and Twenty-One Candles Cover on Different Charts
The same two numbers describe very different stretches of time.
| Chart | 9 candles span | 21 candles span | Typical character |
|---|---|---|---|
| 15-minute | 2.25 hours | 5.25 hours | Frequent crosses, spread weighs heavily |
| 1-hour | 9 hours | 21 hours | Several signals a week on active pairs |
| 4-hour | 1.5 days | 3.5 days | Slower signals, wider stops |
| Daily | About 2 weeks | About 4 weeks | Rare signals, large stops, swap matters |
These spans are approximate because EMA weights are not equal. Shorter charts multiply both the crosses and the costs. Pick the chart that matches the hours you can actually give, and keep it fixed during testing.
A Rule Set for the 9/21 Cross, Trend Filter Included
Treat this as a framework to test, not a recommendation.
Buy setup
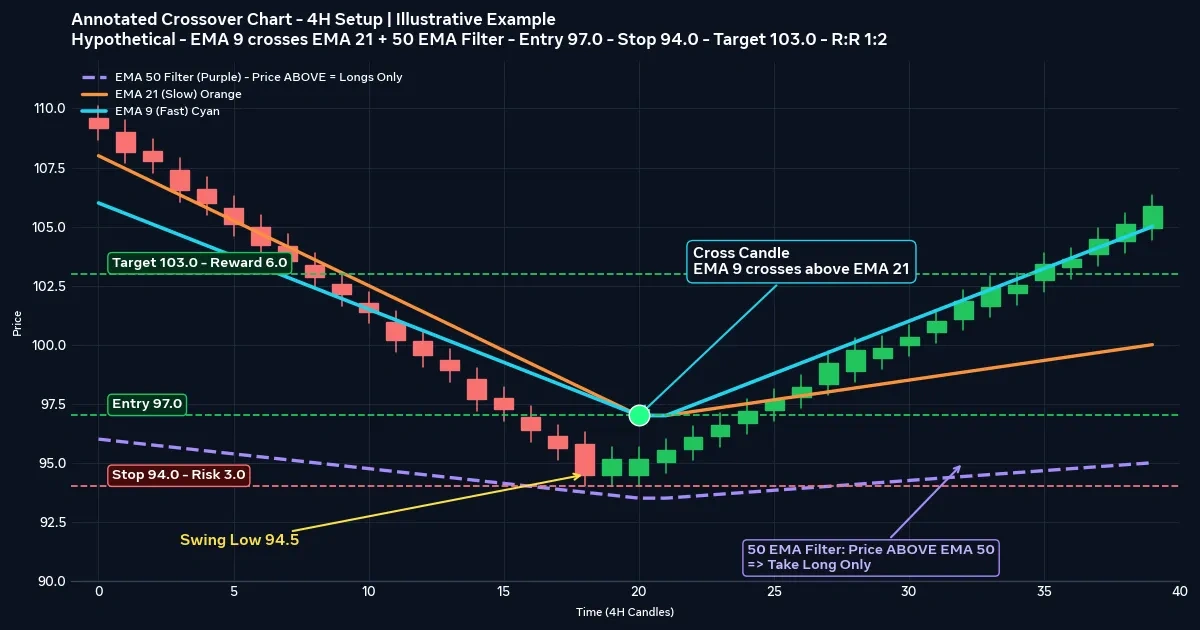
- The 9 EMA closes above the 21 EMA after being below it.
- Wait for the cross candle to close. A cross that appears mid-candle can disappear before the close.
- Add a direction filter: for example, price is above a 50 EMA, or the next-higher timeframe is trending up.
- Enter at the next candle’s open, or wait for a pullback toward the 9 or 21 and accept that you may miss the move.
Sell setup
- The mirror image, with price below the filter line.
Skip the signal if
- The 9 and 21 have crossed three or more times in the last twenty candles.
- The lines are almost flat and bunched together.
- Price is already stretched far from the 21, which suggests the move is mostly done.
This is the trend-following logic described in trend following strategy for beginners. You join a move already in progress and accept that you will miss the start of it.
Riding the 21: Entries on the Retest
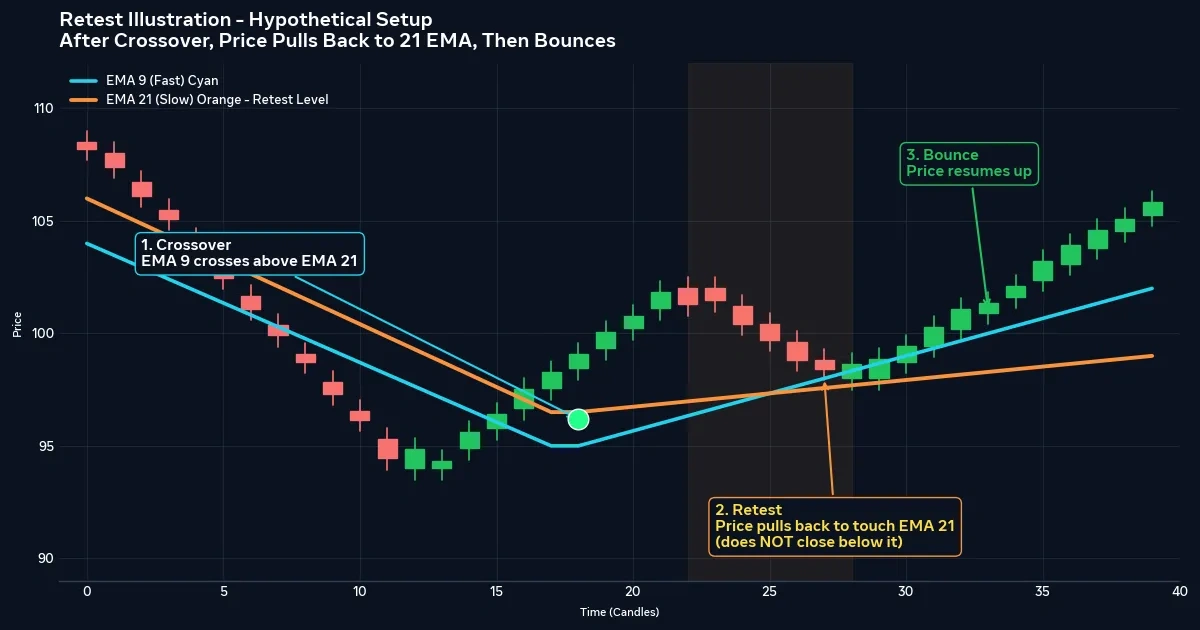
Some traders treat the cross as a direction signal only and enter later. After a bullish cross, they wait for price to dip toward the 21 EMA and print a bullish candle there. In a healthy trend, the 21 often acts as a loose support zone.
The trade-off is plain. A retest entry gives a closer stop and a better price, but the pullback may never arrive, and a pullback that closes decisively below the 21 is a warning that the trend may be failing. Test the cross entry or the retest entry, not both at once, so you can tell which rule is producing the results.
Where the Stop Goes When the 21 Is Your Reference Line
Two common stop placements:
- Beyond the last swing point. For a buy, below the most recent swing low before the cross.
- Beyond the 21 with a buffer. A close back through the 21 can signal the move has failed, but a stop sitting exactly on the line is easy to clip, so traders often add a few pips or a fraction of the average candle range.
Two common exits:
- A fixed reward-to-risk target, such as twice the stop distance.
- The opposite cross. This lets winners run but returns a large share of open profit because of lag.
Use one exit method per test. A hard stop-loss order limits the damage from a sudden move, though it cannot promise a fill at your price.
A Hypothetical USD/CHF Long on the 4-Hour Chart
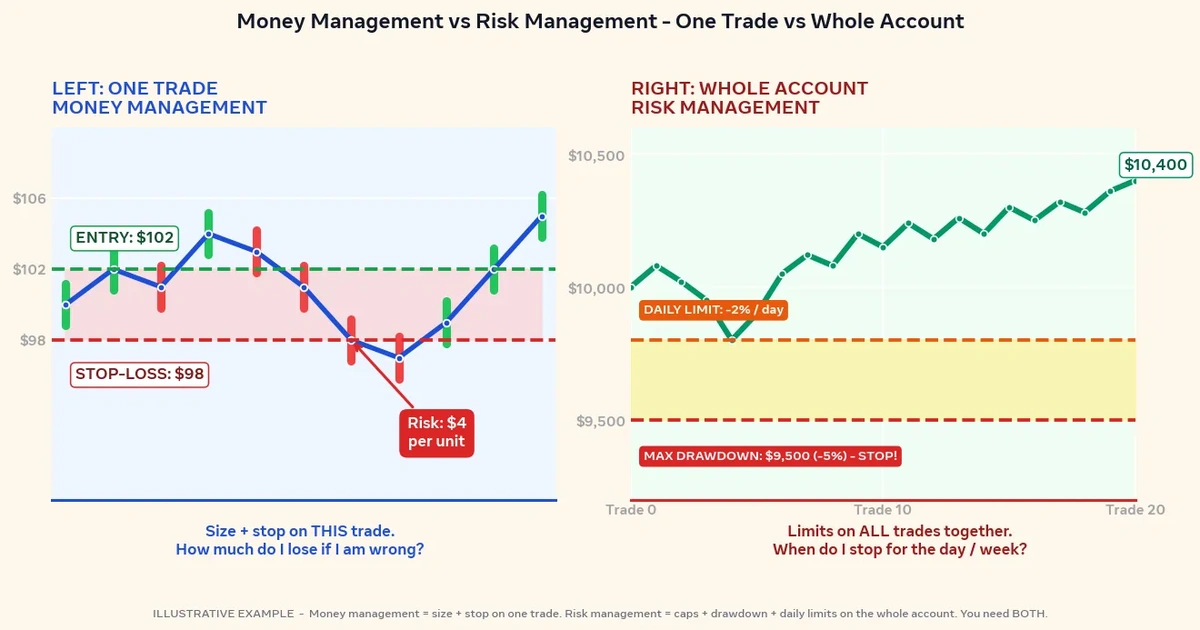
Assume a $6,000 account risking 1% ($60) per trade. On USD/CHF, one pip is 0.0001, so a standard lot moves 10 Swiss francs per pip. At an assumed rate of 0.9000, that is about $11.11 per pip per lot. The dollar value of a pip shifts as the exchange rate moves.
The 9 EMA closes above the 21 EMA on the 4-hour chart, and price sits above the 50 EMA. A trader buys at 0.9000, places a stop at 0.8970, and sets a target at 0.9060.
- Stop distance: 30 pips. Target distance: 60 pips. Reward-to-risk is 2:1.
- Position size: $60 ÷ (30 × $11.11) = 0.18 lots, where one pip is about $2.00.
- Spread of 1.2 pips costs about $2.40. No commission or swap is assumed.
- If the target is hit: 60 × $2.00 = $120.00, minus $2.40, leaves $117.60.
- If the stop is hit: 30 × $2.00 = $60.00, plus $2.40, is a loss of $62.40.
- Break-even win rate: $62.40 ÷ ($62.40 + $117.60) = about 34.7%.
This is a hypothetical example for illustration only. Prices and costs are invented, real fills differ, and a gap past the stop would produce a larger loss than $62.40. The break-even figure is arithmetic, not a forecast of what win rate the system will produce.
Twelve Hypothetical Trades, Two Different Months
The same rules can produce very different months. Using the $117.60 win and $62.40 loss above, imagine twelve trades in each of two months.
Month A: 5 wins, 7 losses.
5 × $117.60 = $588.00. 7 × $62.40 = $436.80. Net: +$151.20, about 2.5% of the account.
Month B: 4 wins, 8 losses.
4 × $117.60 = $470.40. 8 × $62.40 = $499.20. Net: −$28.80, about 0.5% of the account.
One extra loser in place of one winner flipped the month from positive to negative. This is a hypothetical example for illustration only, and the win counts are invented to show sensitivity, not to suggest typical results. The practical lesson is that a trend system accepts many small losses and depends on winners being larger than losers. If a run of seven or eight losing trades would make you abandon the rules, risk less per trade.
Where 9/21 Traders Give Back Their Gains
- Acting before the candle closes. Mid-candle crosses often vanish by the close.
- Taking every cross in a range. The pair is a trend tool. Running it on a sideways pair collects stop-outs.
- Skipping the filter after a few missed moves. Fear of missing a trend leads traders to drop the rules that were protecting them.
- Re-tuning the numbers. Moving from 9/21 to 8/20 to 10/25 after a bad week fits the past and says little about the future.
- Letting the opposite cross be the only protection. A hard stop belongs on every trade.
- Growing the position after a win streak. Larger sizing turns an ordinary losing run into a large drawdown.
Who the 9/21 Pair Will Frustrate
Consider skipping this approach, or adjusting expectations, if you:
- want entries near exact turning points, since crossovers confirm after the fact;
- can’t sit through several small losses in a row without changing the rules;
- trade mostly sideways pairs or quiet hours;
- expect a high win rate, when trend systems often depend on winner size instead.
How a 9/21 Cross Fails: Chop, Late Exits, and Gaps
Chop. In sideways markets the two lines cross back and forth. Each failed trade costs the stop distance plus spread, and the losses accumulate faster than most beginners expect.
Lag. The cross confirms a move that has already begun. Entries come after part of it is gone, and opposite-cross exits hand back open profit.
Gaps and slippage. Price can jump past your stop around news or over a weekend. A stop-loss limits loss only when the market fills it near your price.
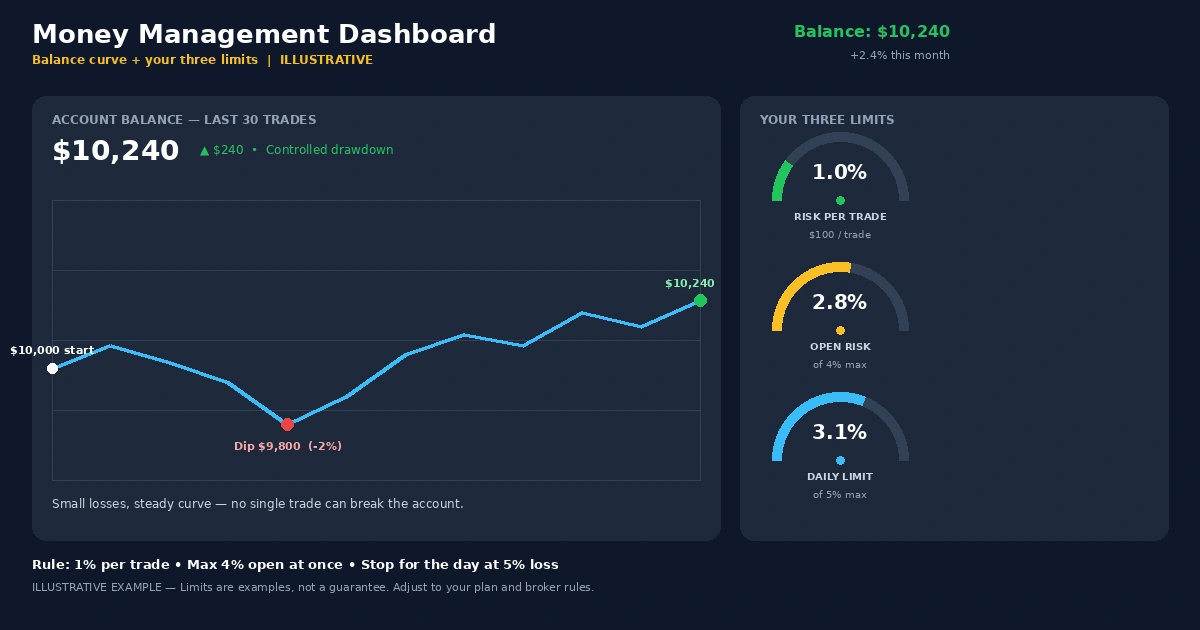
Leverage. Leverage magnifies losses as well as gains, and a trader can lose the entire deposit. Risking a small, fixed percentage per trade, as set out in the forex risk management complete guide, keeps one bad run survivable.
Backtest versus live. A backtest can look strong when spread, slippage, and the pressure of an open trade are left out. Settings that fit one historical stretch may fail in the next, and past results do not predict future ones.
Questions Traders Ask Before Adding 9 and 21 EMAs
Is the 9 and 21 EMA crossover profitable?
It can be in some conditions and not in others. Trending markets tend to favor it, and ranges tend to hurt it. Results depend on costs, risk control, and how consistently you follow your rules. No setting guarantees profit, so test it on a demo account first.
Which timeframe suits the 9/21 cross?
No timeframe suits everyone. The 15-minute chart gives more signals and more cost drag, while the 4-hour and daily charts give fewer, slower signals with wider stops. Match the chart to your free hours, then test it.
Should I use a trend filter with it?
Many traders do, such as a 50 EMA or a higher-timeframe direction check. A filter can remove weak signals, but it also removes some good ones. Add one at a time and compare results after costs.
How does it differ from the 20/50 pair?
The 9/21 reacts faster, so it signals earlier and more often, with more false crosses. The 20/50 is smoother and slower. The choice depends on your timeframe and how much noise you can tolerate.
Can it be used on gold or indices?
The mechanics are identical, but spreads, volatility, and overnight gaps differ by market. Confirm how costs work in the instrument you trade and test it separately before assuming results carry over.
Two Lines, One Written Plan
The 9 and 21 crossover is easy to see and easy to misuse. The lines describe where price has been, while the stop, size, filter, and patience decide how a trade turns out. A written rule set matters more than the exact settings.
For your next step, run a two-week demo trial on a 4-hour chart with your trend filter switched on. Log every cross, including the ones you skip, and note whether each skipped signal would have won or lost. That record will show whether the filter is helping or just hiding trades.
Disclaimer
This article is for educational purposes only and is not financial advice. Forex and CFD trading involves a high level of risk, and you can lose some or all of your capital. Leverage can magnify both gains and losses. Never trade with money you can’t afford to lose.
This is a trading framework, not a guarantee. No strategy wins every trade, and results vary with market conditions, execution, and risk management.
Any percentages or figures shown are historical averages or hypothetical examples, not guarantees. Past performance does not predict future results.
Join now
Comments (0)
Be the first to comment.